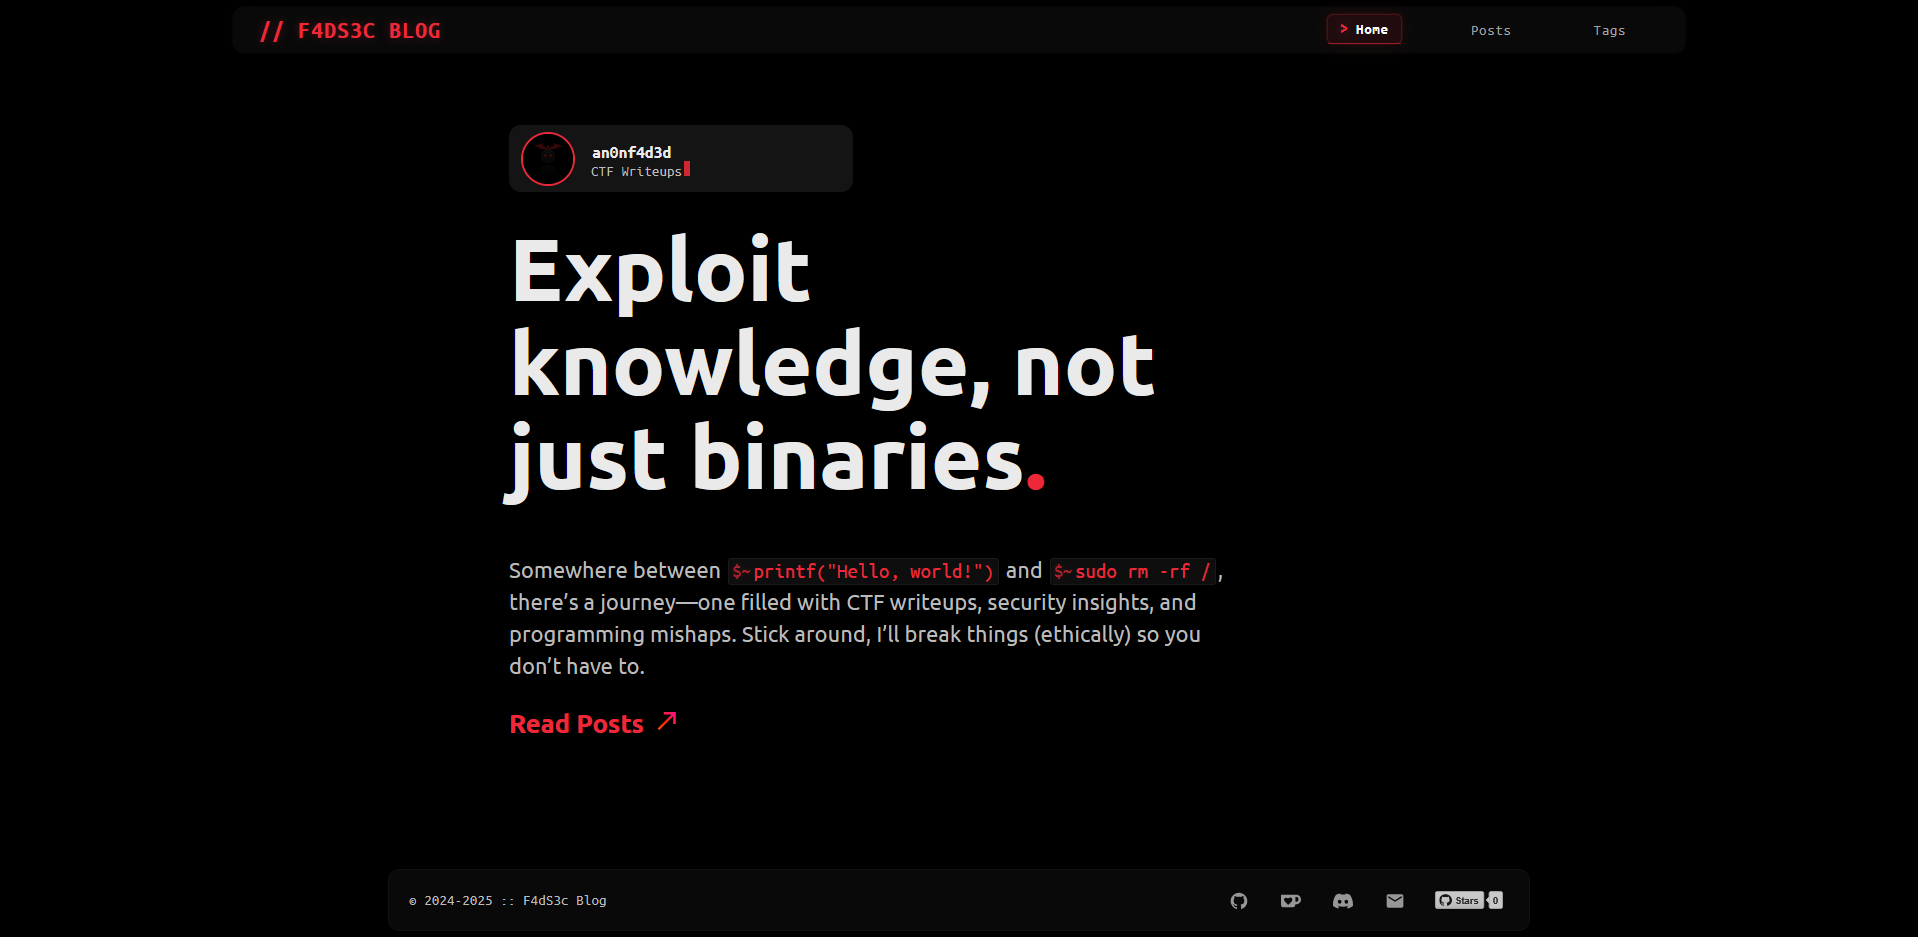
🚀 Custom Cybersecurity-Themed Hugo Blog
I have created a custom cybersecurity-themed Hugo blog website, originally forked from hugo-winston-theme. It has been fully customized and transformed into a cybersecurity theme.
This template is ready to use—no Hugo setup required! You can see a live demo here: FadedHood Blog. Below is the GitHub template for setting up your own blog:
https://github.com/anonfaded/hugo-winston-cyber
Open the above link to access the GitHub template, and follow the steps below to get your website live within minutes.
🚀 Quick Setup Guide
Fun fact: You can use the ← ↑ ↓ → arrow keys to navigate through this guide and press Enter to jump to that section.
1️⃣ Create Your Blog Repository
- Open the GitHub template that i provided.
- Click “Use this template” and select “Create a new repository”.
- Enter a repository name and set it to Public.
- Click “Create repository”.
2️⃣ Clone the Repository
Clone your newly created repository to your local machine:
git clone https://github.com/your-username/your-repo.git
(Replace your-username and your-repo with your actual GitHub username and repository name.)
3️⃣ Deploy the Website on GitHub Pages
- Open your repository on GitHub.
- Navigate to
Settings > Pages. - Under Build and deployment, select
GitHub Actionsas the source.
4️⃣ Re-run the Build Job
- Go to the
Codetab. - Locate the red ❌ (failed job) next to the initial commit message.
- Click on it and rerun the failed job to trigger the deployment.
5️⃣ Get Your Website Link
Go back to Settings > Pages, and you’ll find the link to your live website!
🔧 Essential Setup & Customization
Install Hugo Extended
Install Hugo Extended on your system with the following command:
winget install Hugo.Hugo.Extended
Alternatively, you can manually download it from the official Hugo website.
Run a Local Development Server
After cloning the repository, open the project in VS Code and run:
hugo serve
Then, visit the localhost link provided in the terminal to preview live changes.
✍️ Managing Blog Content
📂 Post Management
- Blog posts are located in the
content/postsfolder. - You can edit, delete, or create new Markdown (
.md) files for your posts.
🖼️ Managing Images
- Store images in the
static/imagesfolder.
🌍 Customizing Social Media Preview Image (OG Image)
- Design a custom Open Graph (OG) image (800x420px recommended).
- Replace the existing one at
static/images/og-image-webp.webp, and remember to name it exactly asog-image-webp.webp - A free Photoshop PSD template is available at
static/psd/og-image.psd, which you can customize for yourself by replacing the placeholder text. - If you don’t have Photoshop (even if you have), use Photopea instead, a free online alternative that has all the features of Photoshop. It is also browser-based, so there’s no need to download anything. (This default template was designed using Photopea as well.)
⚙️ Configuring Your Website
Edit the config file (config.toml) to personalize your blog:
- Update
baseURLwith your website URL (found inSettings > Pageson GitHub). - Modify the following values:
titletwitter_handlegithub_usernamekofi_usernamediscord_inviteemailfooter_textfooter_year
🎉 You’re All Set!
You now have a fully functional cybersecurity-themed Hugo blog! 🚀
If you like this project, consider starring or sponsoring it on GitHub: GitHub Repository.
For bugs or feature requests, please submit an issue on GitHub.
Enjoy blogging and sharing your cybersecurity knowledge! 🛡️
